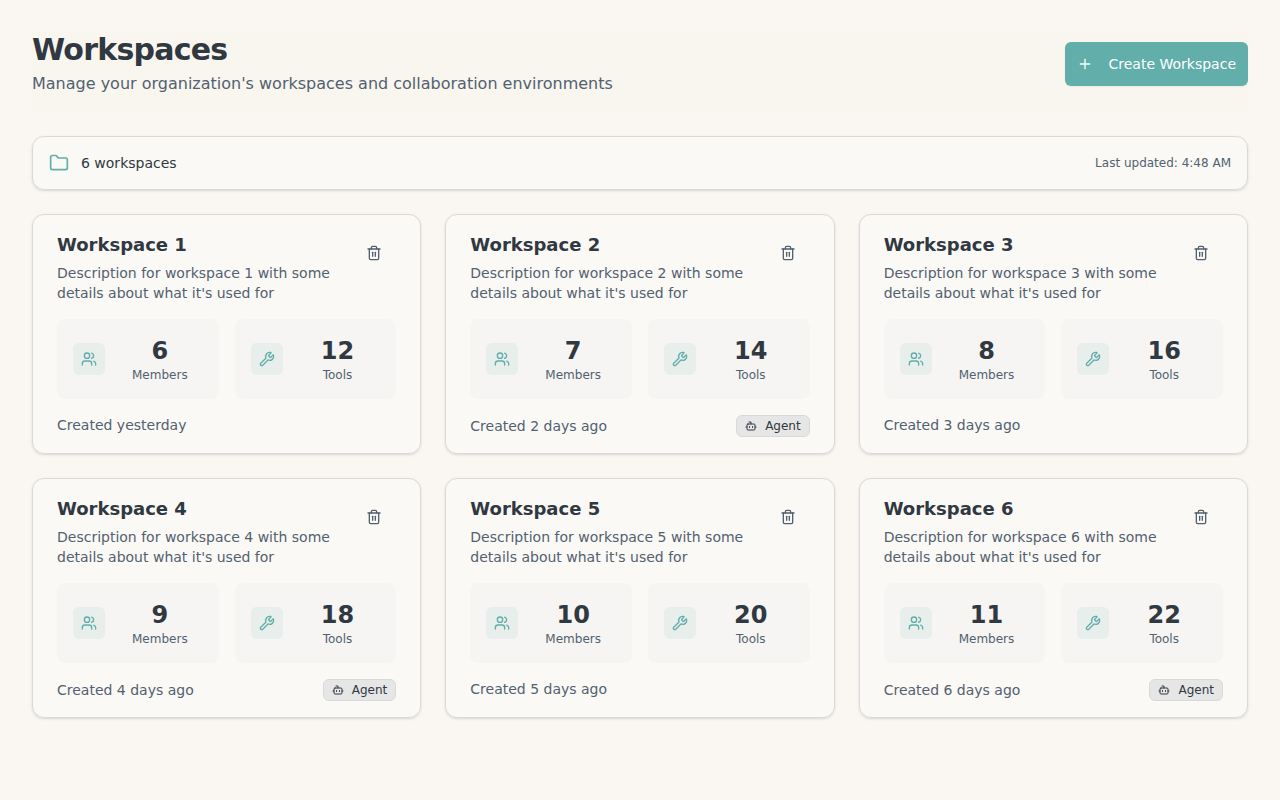
Workspaces
Backstack Workspaces help you organize tools, resources, and team access in logical groups.What are Workspaces?
A workspace is a collection of:- Tools - Executable actions and integrations
- Resources - Data sources and context
- Members - Team members with specific permissions
- Settings - Configuration and access controls
Creating a Workspace
When you have no workspaces yet, you’ll see an empty state with a button to create your first workspace: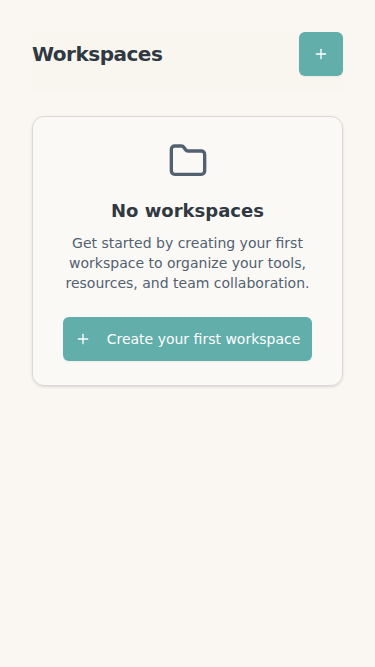
- Log in to Backstack
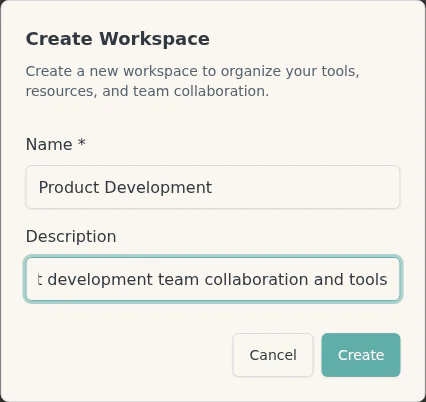
- Click Create Workspace
- Enter a name and description
- Configure visibility and permissions
- Click Create
Workspace Settings
Basic Settings
Name and Description:- Give your workspace a descriptive name
- Add a description to explain its purpose
- Both can be changed later in workspace settings
- Choose an icon to represent your workspace
- Select a color theme for easy identification
- Helps distinguish workspaces at a glance
Visibility Levels
Control who can see and access your workspace:
Changing Visibility:
- Go to workspace Settings
- Select Visibility
- Choose your preferred level
- Click Save
Self-Join Permissions
Allow users to join without invitation: Self-Join Settings:- Disabled (default) - Admins must invite all members
- Request to Join - Users can request access, admins approve
- Auto-Join - Users can join immediately without approval
- Navigate to workspace Settings
- Go to Member Settings
- Toggle Allow Self-Join
- Choose approval method
- Save changes
Workspace Roles and Permissions
Members can have different roles with specific permissions:
Assigning Roles:
- Go to workspace Members tab
- Find the member to modify
- Click the role dropdown
- Select new role
- Changes apply immediately
- Owner - Workspace creator or primary maintainer (minimum 1 required)
- Admin - Team leads managing workspace configuration
- Member - Regular users working with tools and resources
- Read-Only - Observers who need visibility but not execution access
Delegation
Delegate workspace tool execution to AI agents on behalf of users: What is Delegation?- AI agents can execute tools without explicit user approval
- User delegates trust to specific AI agents
- Useful for automated workflows and background tasks
- Open workspace Settings
- Go to Delegation
- Toggle Allow Agent Delegation
- Configure delegation rules:
- Which agents can be delegated
- What tools agents can execute
- Approval requirements
- Save configuration
- None - No delegation allowed, all executions require user approval
- Limited - Specific tools can be delegated to approved agents
- Full - All workspace tools can be delegated (use with caution)
Delegation is an advanced feature primarily used for automated workflows. Most workspaces don’t need delegation enabled.
Permissions
Control workspace access and capabilities: Tool Execution:- Who can execute tools in this workspace
- Read-only members can see tools but not execute them
- Execution is logged in activity logs
- Who can view shared documents
- Who can share new documents to workspace
- Document search permissions
- Who can invite new members
- Who can change member roles
- Who can remove members
- Who can modify workspace settings
- Who can assign/unassign MCP servers
- Who can delete the workspace
Managing Members
Add team members to a workspace:- Open the workspace
- Go to Members tab
- Click Add Member
- Select user and assign role (Owner, Admin, Member, Read-Only)
- Click Add


- Go to Members tab
- Find the member to remove
- Click the remove icon
- Confirm removal
Assigning MCP Servers
Connect organization services (MCP tools) to your workspace:What Server Assignment Does
When you assign an MCP server to a workspace:- All workspace members can use that tool in AI conversations
- The tool appears in members’ AI clients when the workspace is active
- Tool execution is scoped to the workspace (permissions, policies apply)
Assigning Servers
- Open the workspace
- Go to Tools tab
- Click Assign MCP Server
- Select from organization’s installed services:
- NPM packages (GitHub, Filesystem, etc.)
- Remote servers
- Click Assign
Unassigning Servers
To remove a tool from a workspace:- Go to Tools tab
- Find the server to remove
- Click Unassign
- Confirm removal
Tool Visibility
Tools assigned to a workspace are visible based on workspace visibility:- PRIVATE workspace - Only invited members see the tools
- ORGANIZATION workspace - All organization members see the tools (if they’re members)
- PUBLIC workspace - Anyone with access sees the tools
- Assign tools relevant to the workspace purpose
- Don’t assign all tools to all workspaces (clutters AI context)
- Review tool assignments quarterly
- Remove unused tools to optimize performance
Using Workspaces with MCP
When you connect an AI client via MCP, you select an organization. The AI client will have access to all tools and resources in workspaces you’re a member of within that organization. Learn more about MCP Setup.Mobile and Responsive Access
Workspaces are accessible across all devices with a responsive interface that adapts to your screen size.Mobile View
On mobile devices, workspaces display in a single-column layout for easy browsing: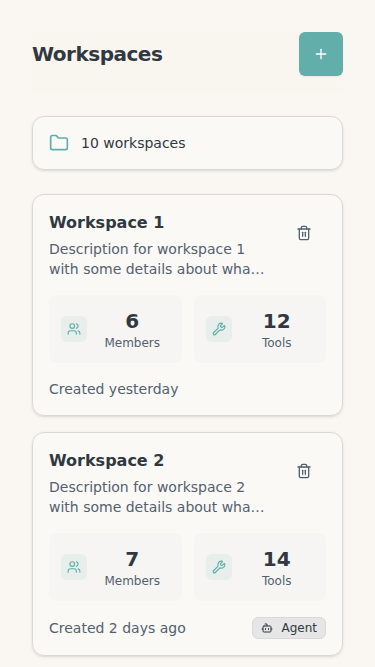
Tablet View
On tablets, workspaces display in a two-column grid that balances information density with touch-friendly interface: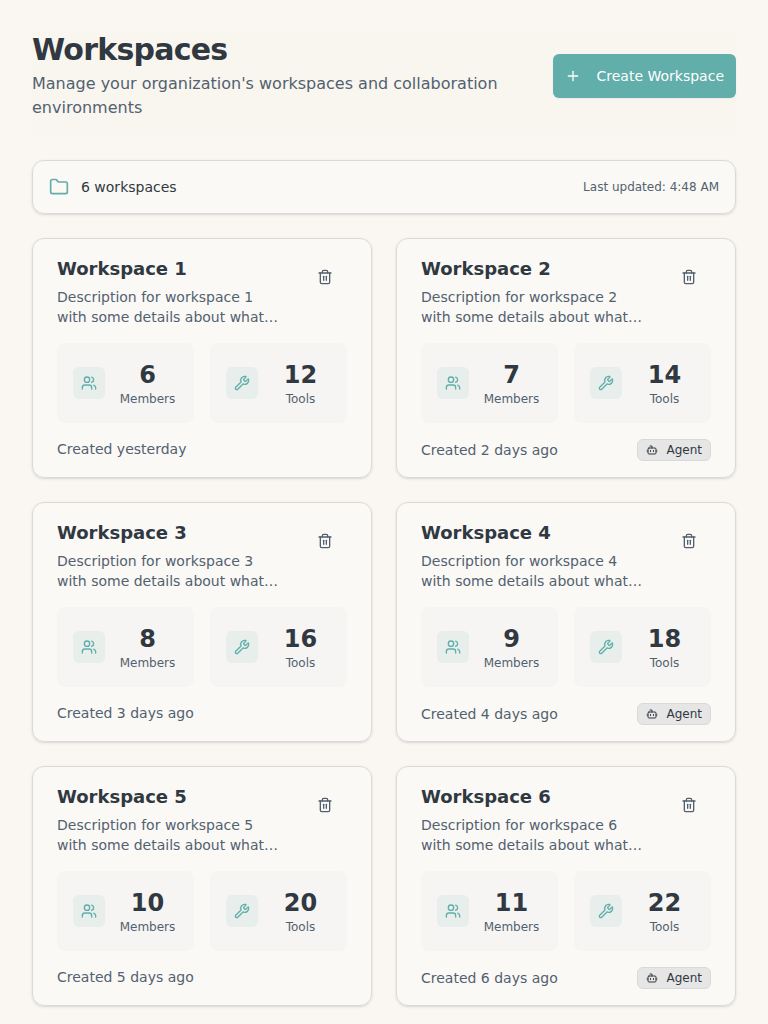
Next Steps
- Set up MCP clients to access your workspace tools
- Explore available tools and resources
- Invite team members to collaborate